
|
Getting your Trinity Audio player ready…
|
If you are new to audio like I am, you might be interested in the least expensive and challenging way to get started with recording audio. I share how to get started with a podcast by using just your phone and Macbook. Specifically, you will need a free app on your phone and a free app on your Macbook.
The audio version of this post:
Feel free to read up on the internet on how to start a podcast, you might find useful things. What I found was that a lot of people recommend buying a microphone at the very least.
For me, I went ahead without waiting to do that, for now, because
- I am frugal
- and don’t like waiting on things
This might not be you. Maybe you want to splurge on a mic or have the patience to wait for it to arrive. I think most people are not quite like me. I like executing to a fault. The good thing about that though is you can learn from my mistakes if I make them and don’t have to make them yourself!
If you hate the quality of my audio recordings that I share here on this blog, let me know, and I will do better. Your feedback is extremely important to the future of this blog 🙏🙏
I wanted to see what was possible with what I already have:
-
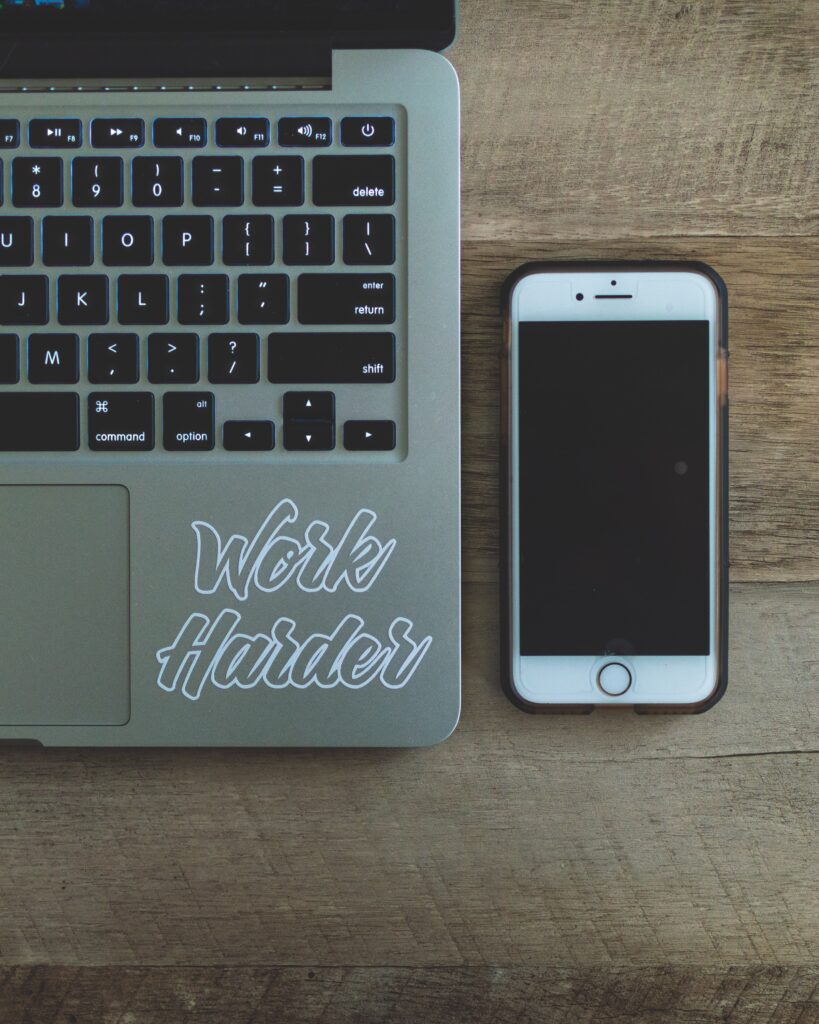
A smartphone: I have the Google Pixel 3a
-
A MacBook: I have the Macbook Air
Steps to start a podcast using just your phone and Macbook
- I got the free app called Easy Voice Recorder on my phone. That is what I use to record my audio. So that is just me holding my phone up close to my face and speaking into it with the app recording my voice. That is super easy to execute.
- The audio file that comes out of the Easy Voice Recorder app is a .wav file. This file I save to Dropbox which is an app that I also have on my phone.
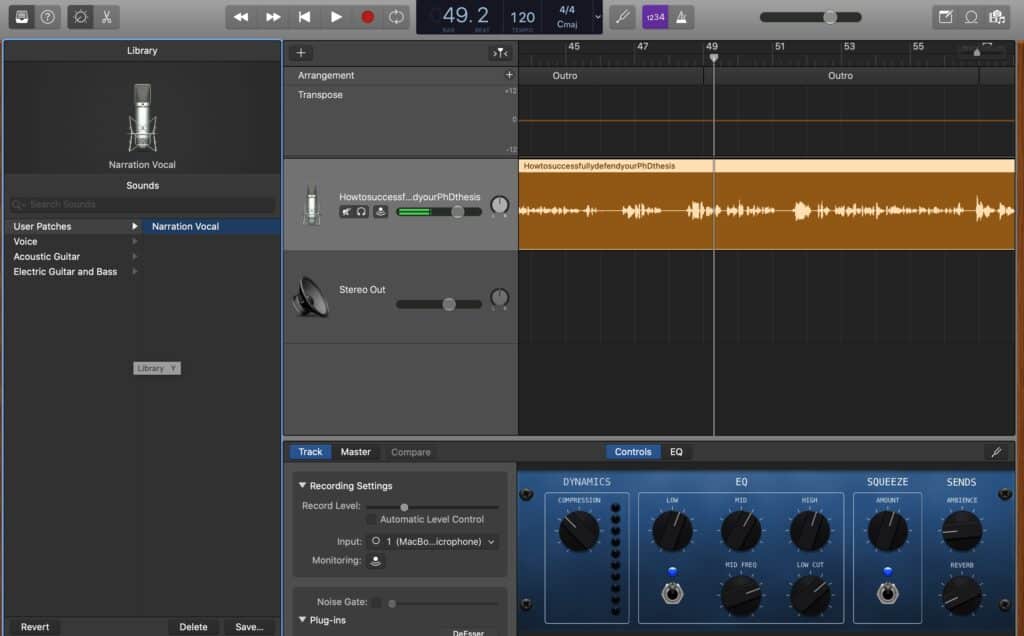
- Next, I open up my Macbook’s GarageBand app. I drag and drop the .wav file from the above step into GarageBand where it then looks like in the picture below.
- I open the menu for Library on the left panel on GarageBand like below and select “User Patches” and then “Narration Vocal” from there. Also shown below. This makes the audio sound clearer.
- Then I save the edited audio file by clicking on “Share” along the top of the app and selecting “Export Song to Disk”. That saves the audio file with date and time as a .mp3 file. This conversion to the .mp3 file takes some time depending on the length of the audio file.
- Lastly, I upload this .mp3 file into my blog as an embedded file by selecting “Add Media” and then navigating to where the .mp3 file is located on my local computer.
- That’s it! I am done. I haven’t yet bothered uploading my audio files to any other platform yet. But I plan to convert them to video and upload them to my YouTube channel. I have read that you can upload to things like SoundCloud and Apple podcast, which I may do. For now, I upload just to this website which I maintain myself.
Leave a Reply